Spring Chocolate Tip: Make Your Own Bunny Bark at Home
If you’re looking for a fun and easy chocolate project to do with your kids, why not make ‘Bunny Bark’ together?
At ChezSlaughter Chocolate, I offer Bunny Bark during the Easter season. It’s a lot of fun and allows you to customize the confection to everyone’s individual tastes.
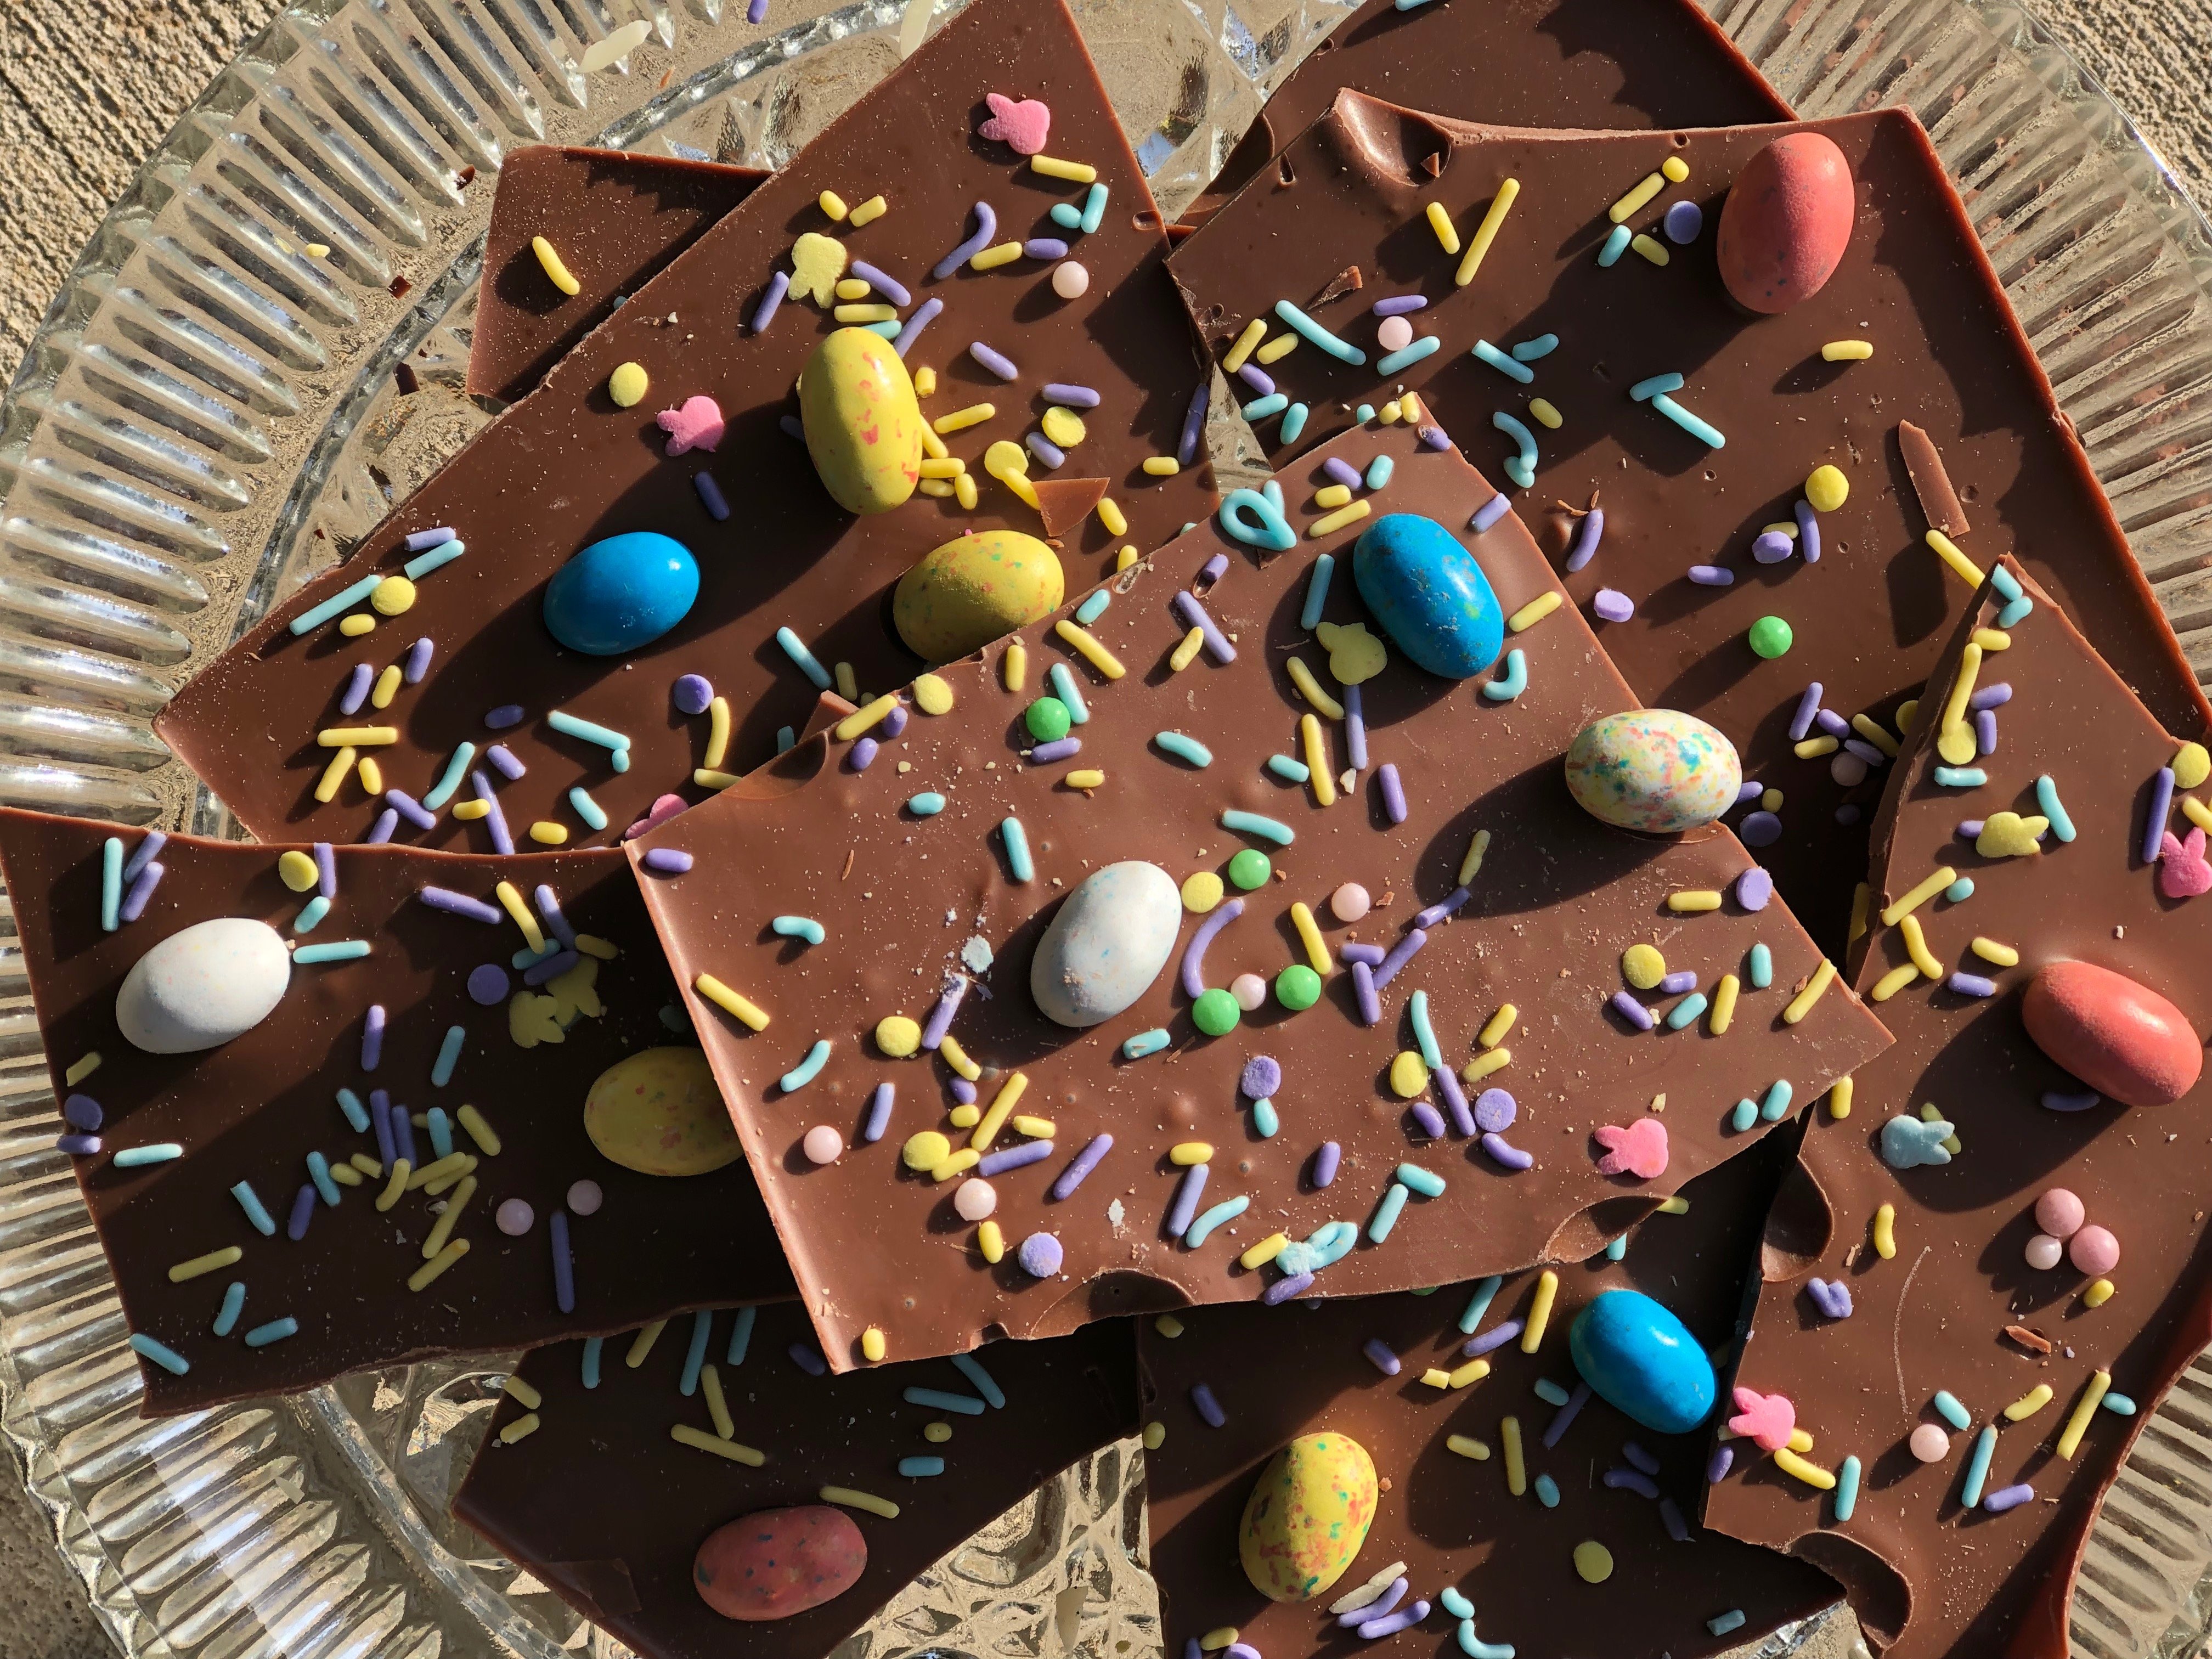
You can make Bunny Bark with white, milk or dark chocolate and top it with your favorite toppings. In fact, your kids will enjoy choosing from a number of colorful Easter candies this time of year such as: jelly beans, Robin’s eggs, Reese’s Pieces and more.
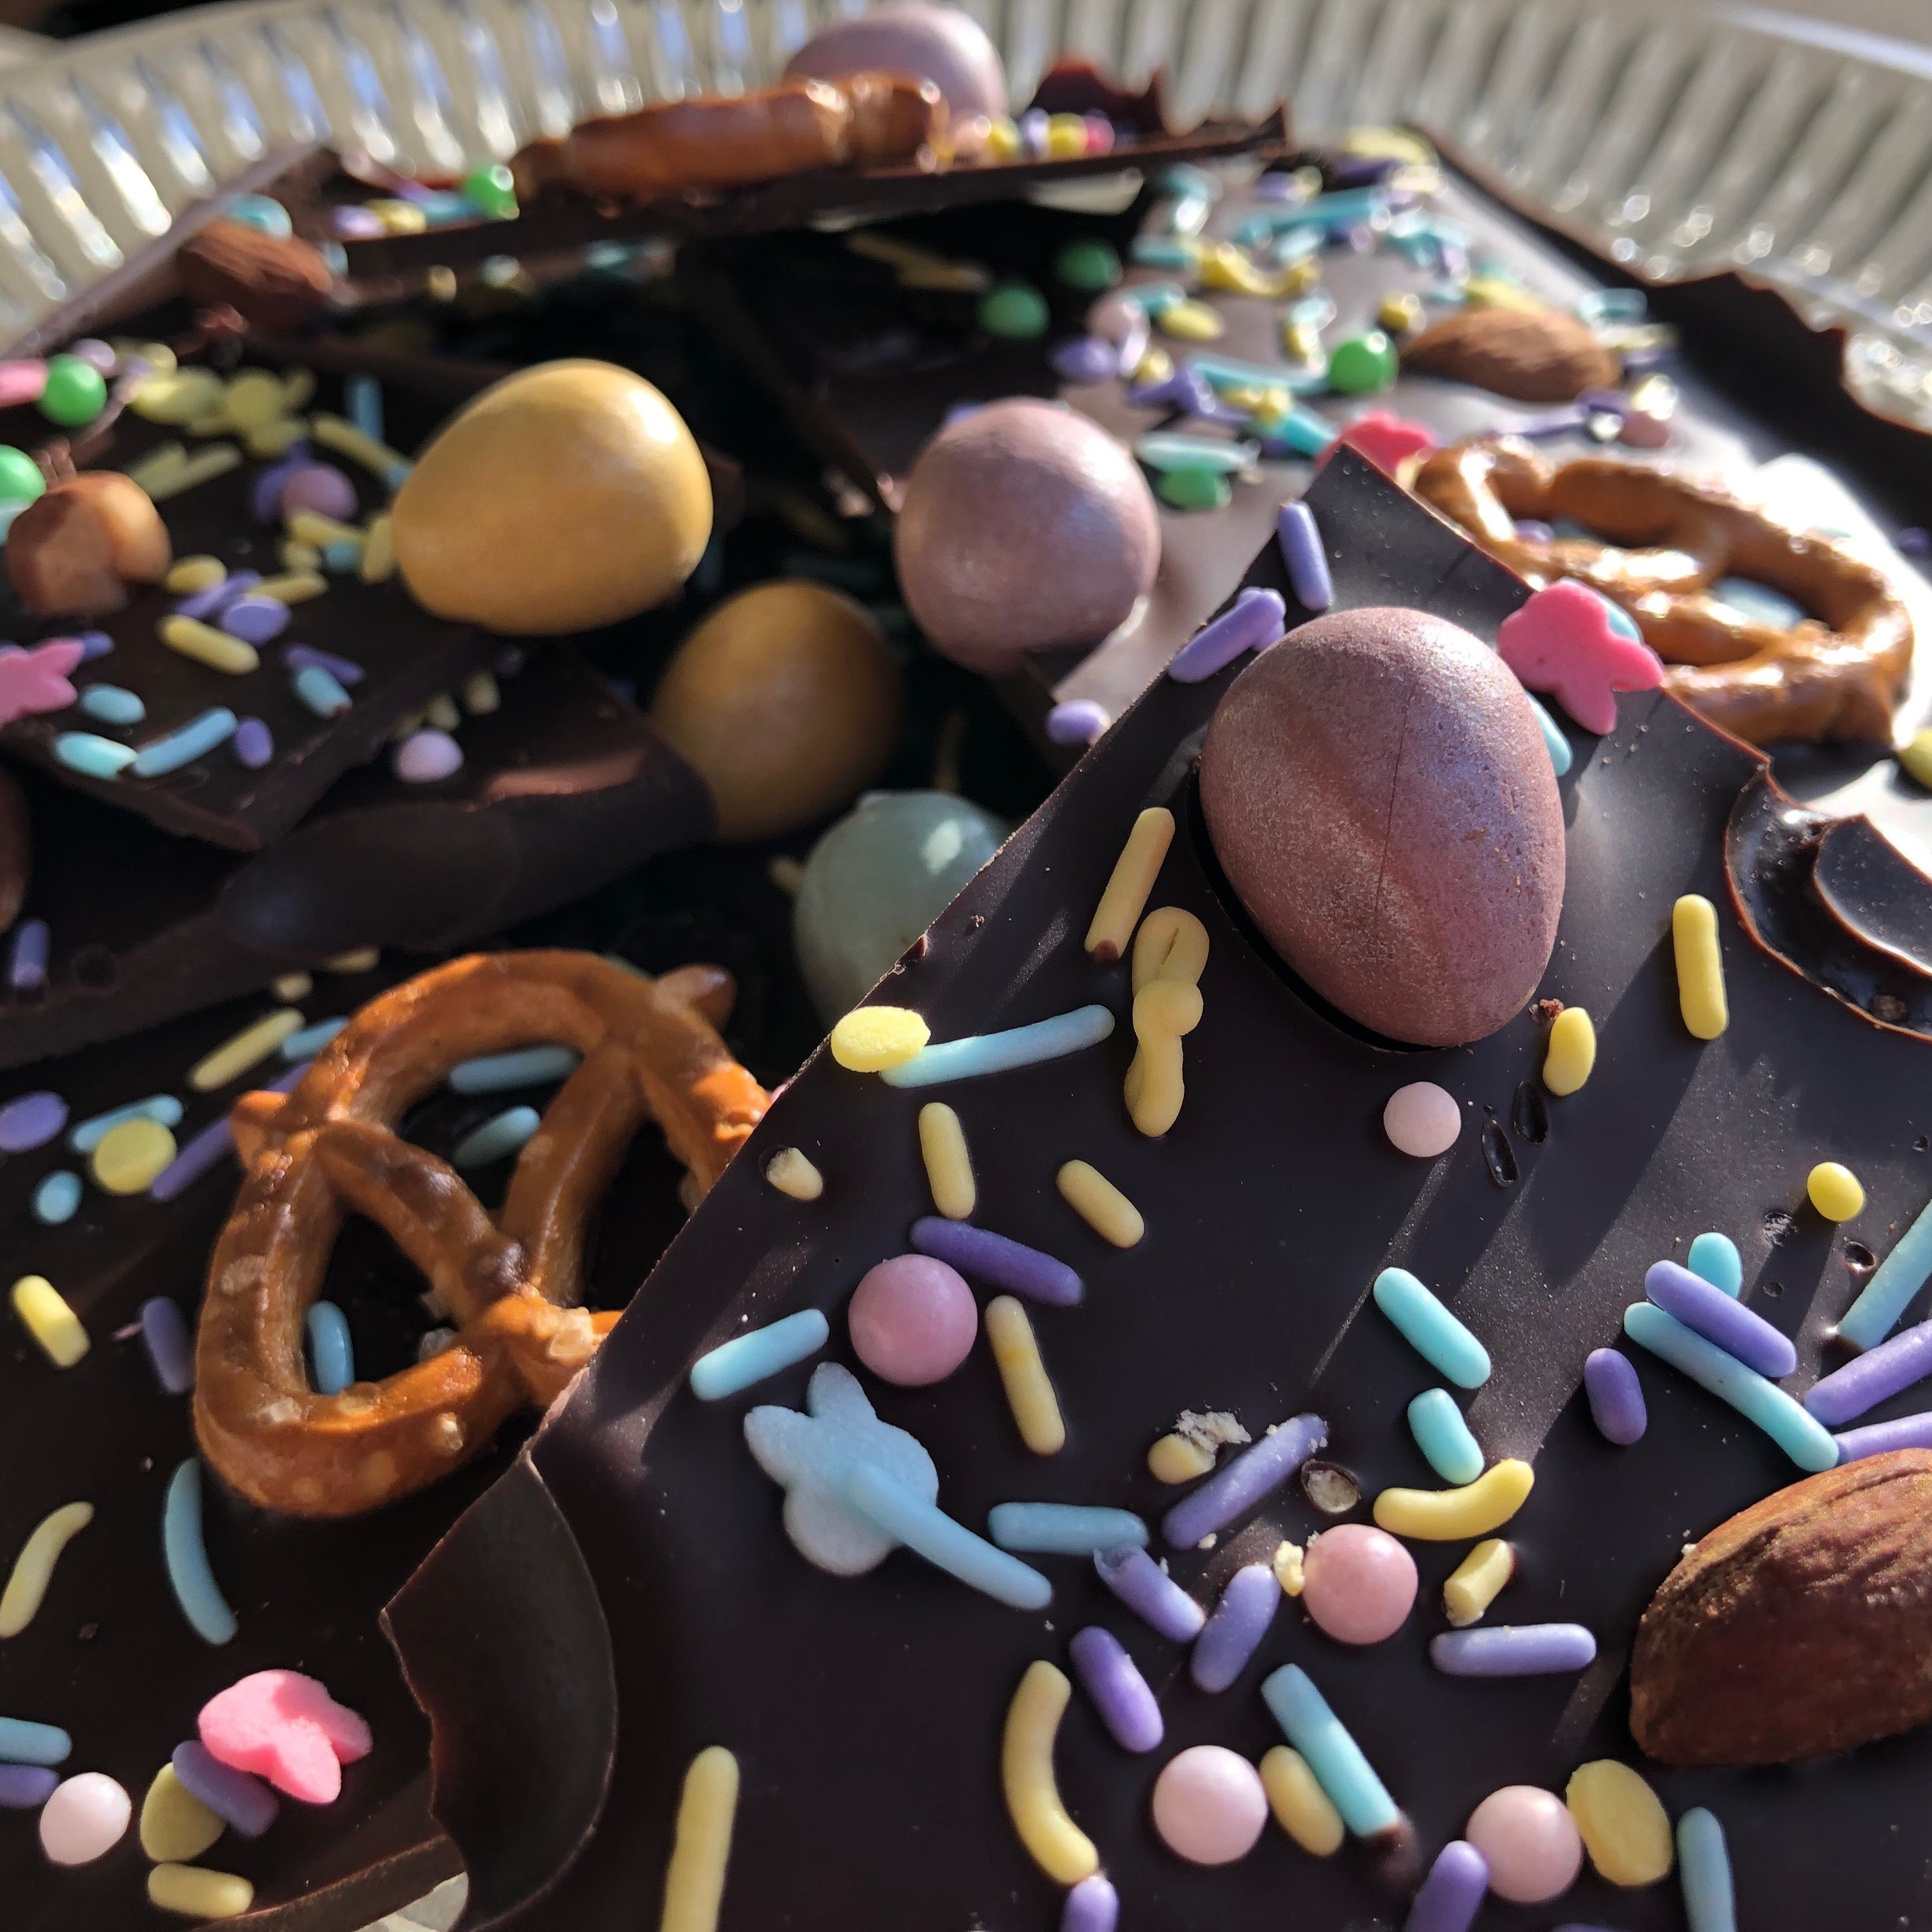
But the kids don’t have to have all the fun. Dad and Mom can choose their own chocolate and toppings such as sea salt, dried fruit and nuts to customize their Bunny Bark to their own tastes.
Here’s how to make your own Bunny Bark at home:
Step #1: Choose your chocolate.
The best chocolate for you to use at home are ‘melting wafers’. This is chocolate designed to melt in your microwave. Unlike chocolate chips used for baking, wafers don’t hold their shape. They melt smoothly and set up firmly when used.
You can get melting wafers from a number of brands but I recommend Guittard, a USA company that produces high-quality chocolate. Click here to purchase Guittard melting chips on Amazon.
Step #2: Choose your toppings.
As mentioned above, the possibilities are endless. My choices for Bunny Bark include: Starburst Jelly Beans, Easter-themed sprinkles, Robin’s Eggs, Cadbury Shimmer Mini-Eggs, Brach’s Marshmallow Chicks & Rabbits and/or Peep Bunnies and Easter-themed sprinkles.
(When making adult Bunny Bark I like to add sea salt, almonds and mini-pretzels.)
Step #3: Prepare the pan.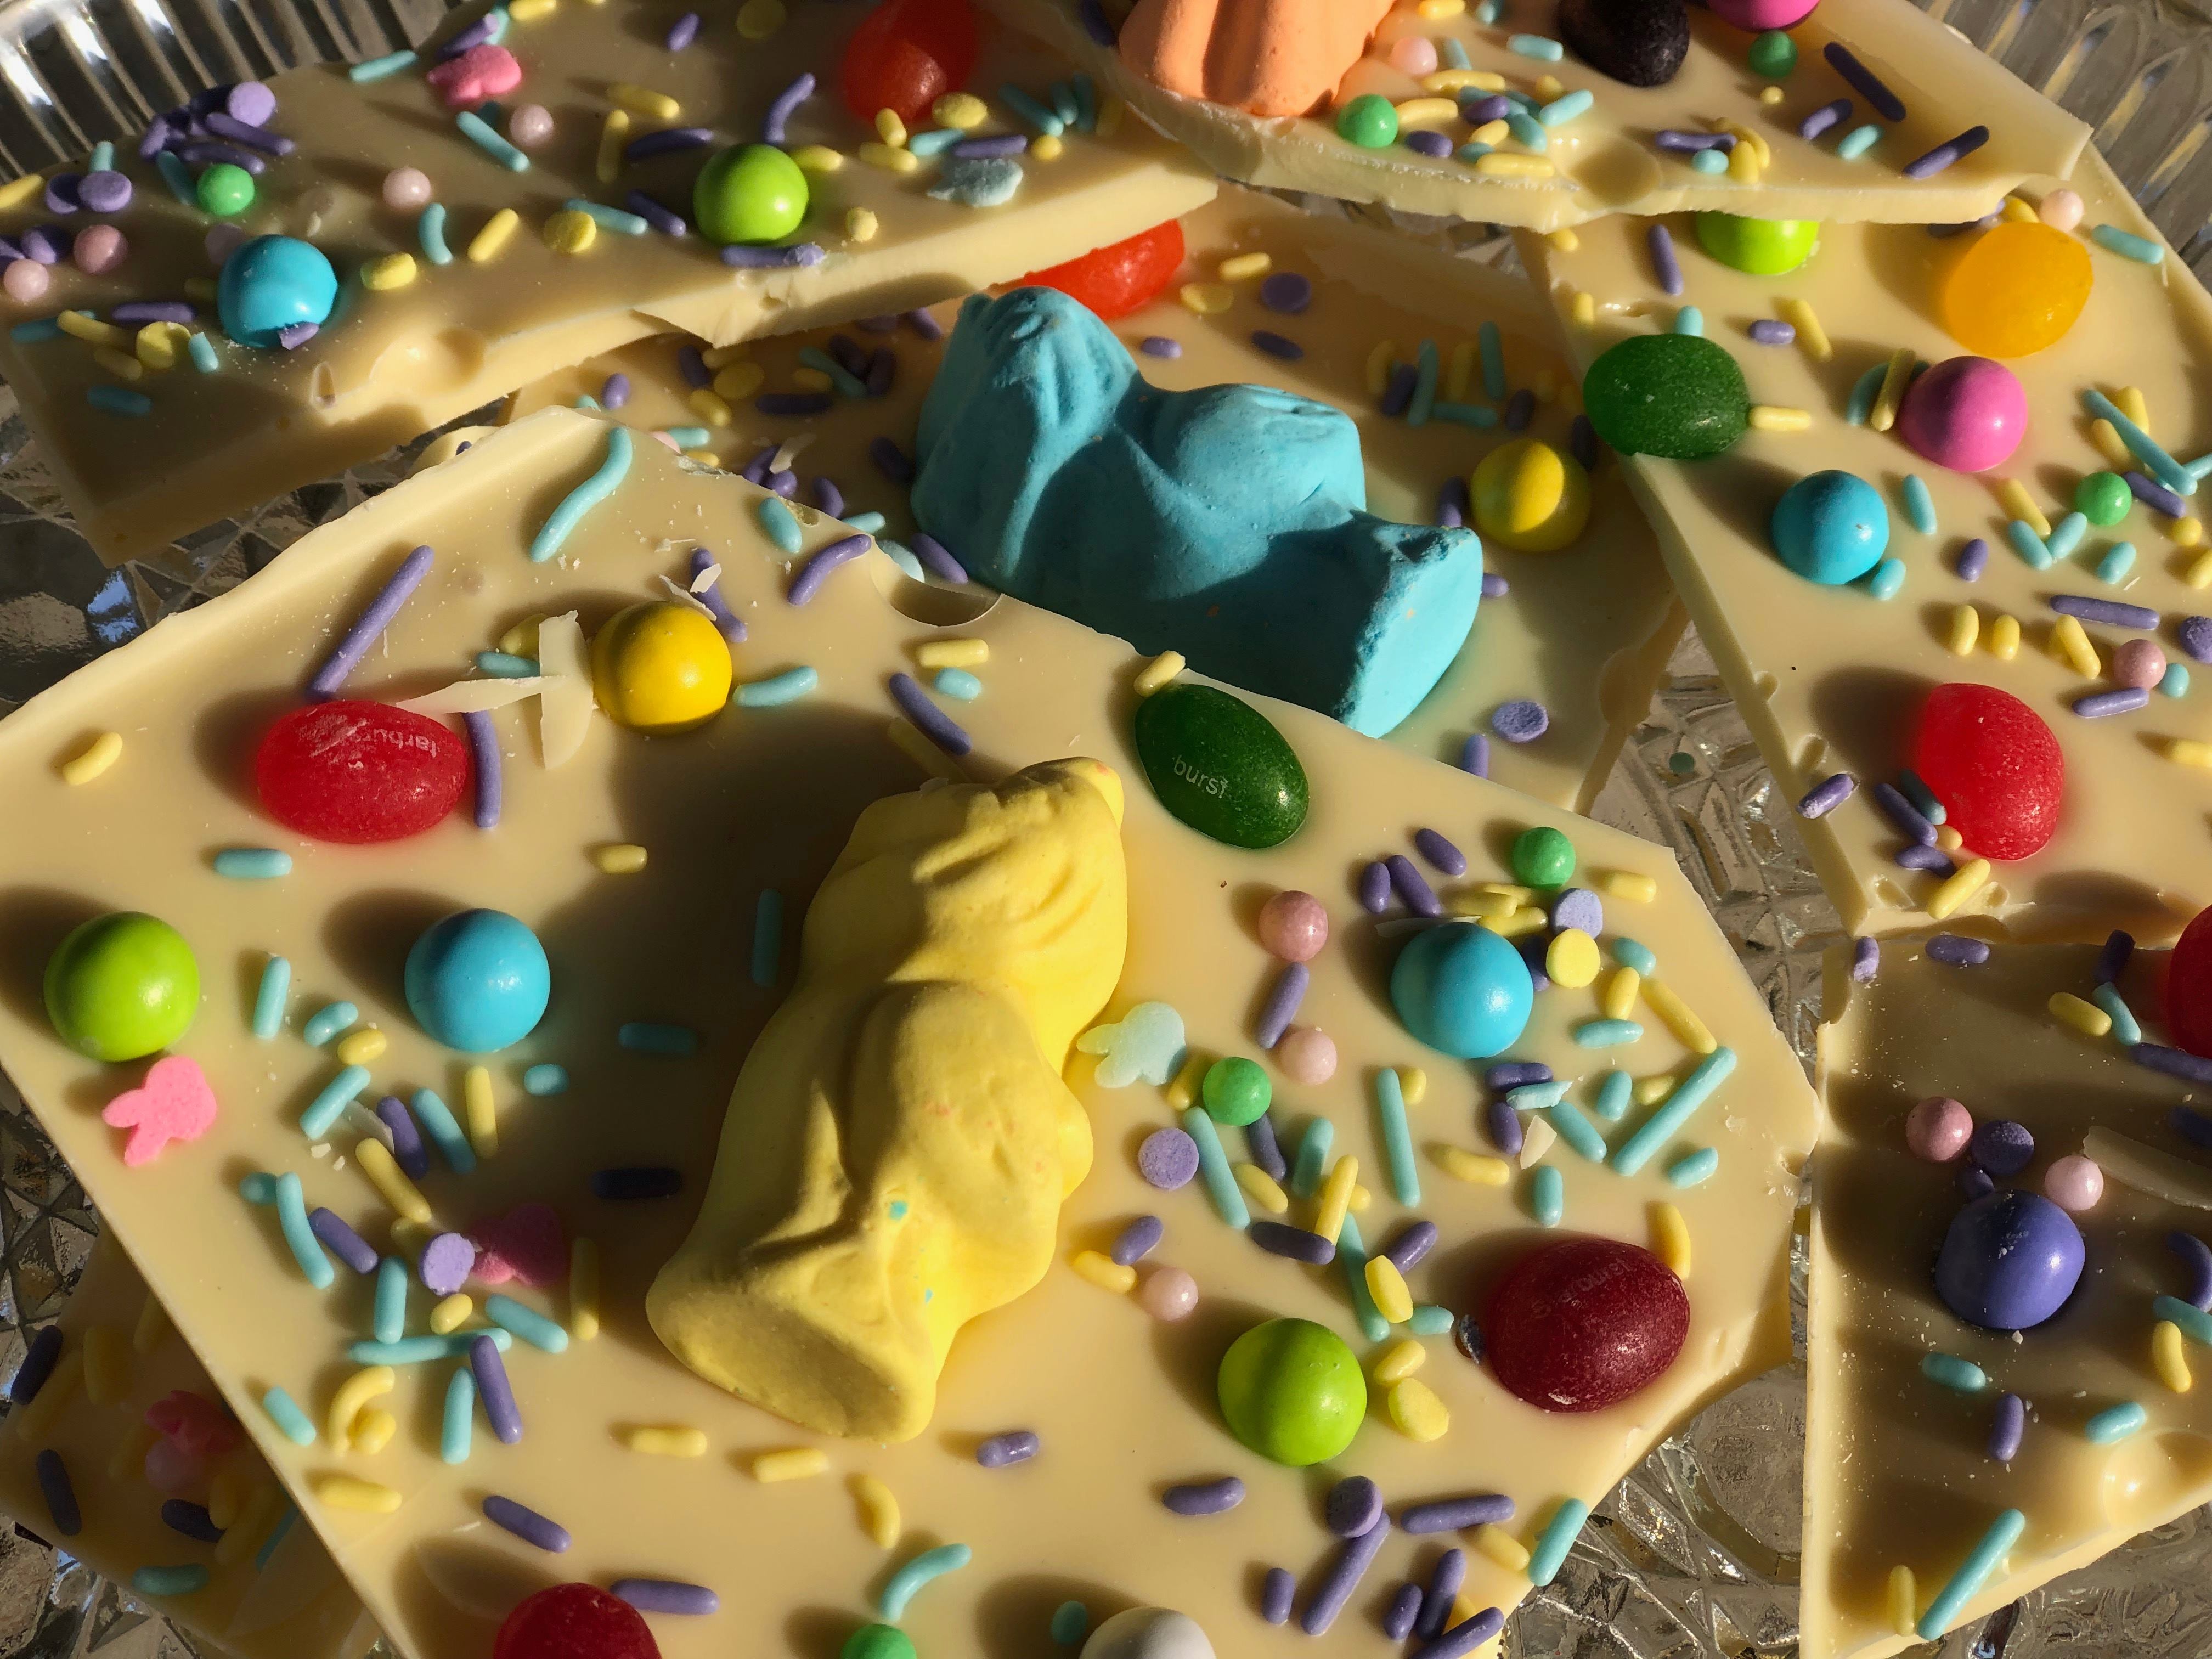
Line a baking pan with parchment paper or wax paper
Step #4: Prepare your toppings.
Put your toppings in separate bowls so they are ready to apply onto the melted chocolate. Note: the chocolate will begin to harden a couple of minutes out of the microwave – so you should apply toppings immediately after spreading the chocolate out.
Step #5: Melt the chocolate
The easiest way to melt chocolate is in the microwave. Use a microwave-safe bowl and warm the chocolate in 30-second intervals, stirring after each one. Don’t get impatient and skip a stir, and don’t overdo it or you may burn the chocolate.
Step #6: Pour the chocolate.
Once the chocolate is melted, spread it evenly on the parchment paper or wax paper so that you create a medium-thin layer. Careful – if it’s too thin, it will crumble when breaking into bark. Too thick, and it will be hard to break. Try to go for somewhere in the middle!
 Step #7: Add toppings
This is the fun part. Just be sure to add them quickly before the chocolate sets – otherwise the toppings won’t stick. I like to start with the large pieces of candy, spread them out over the bark and fill in the spaces between with the next size down and so on until you get to the sprinkles.
Step #8: Set in the refrigerator
Put your bark in the fridge and let the chocolate harden.
Step #9: Break into bite-size pieces
Now it’s time to break your bark into bite-sized pieces and either enjoy right away, share with friends or store in an air-tight container.